Quick start
We assume that you have already installed python 3.8, latest pip, latest setuptools and docker that has access to pull images from the DockerHub. If something is missing or should be updated refer to the How to install or What if is doesn’t work sections.
Install CWL-airflow
$ pip3 install cwl-airflow \
--constraint "https://raw.githubusercontent.com/Barski-lab/cwl-airflow/master/packaging/constraints/constraints-3.8.txt"
When using optional
--constraintparameter you can limit dependencies to those versions that were tested with your Python.Configure CWL-airflow (for details refer to Initial configuration section)
$ cwl-airflow init
Get some workflows to run, for example from SciDAP
$ git clone https://github.com/datirium/workflows.git --recursive
To be able to use Airflow Webserver, create a new user following the example below
airflow users create \
--username admin \
--firstname firstname \
--lastname lastname \
--role Admin \
--email firstname@lastname.org
In a separate terminals start Airflow Webserver, Scheduler and our API
$ airflow scheduler
$ airflow webserver
$ cwl-airflow api
Schedule execution of a sample pipeline. Set the workflow number with
--range$ cwl-airflow test --suite workflows/tests/conformance_tests.yaml --range 1
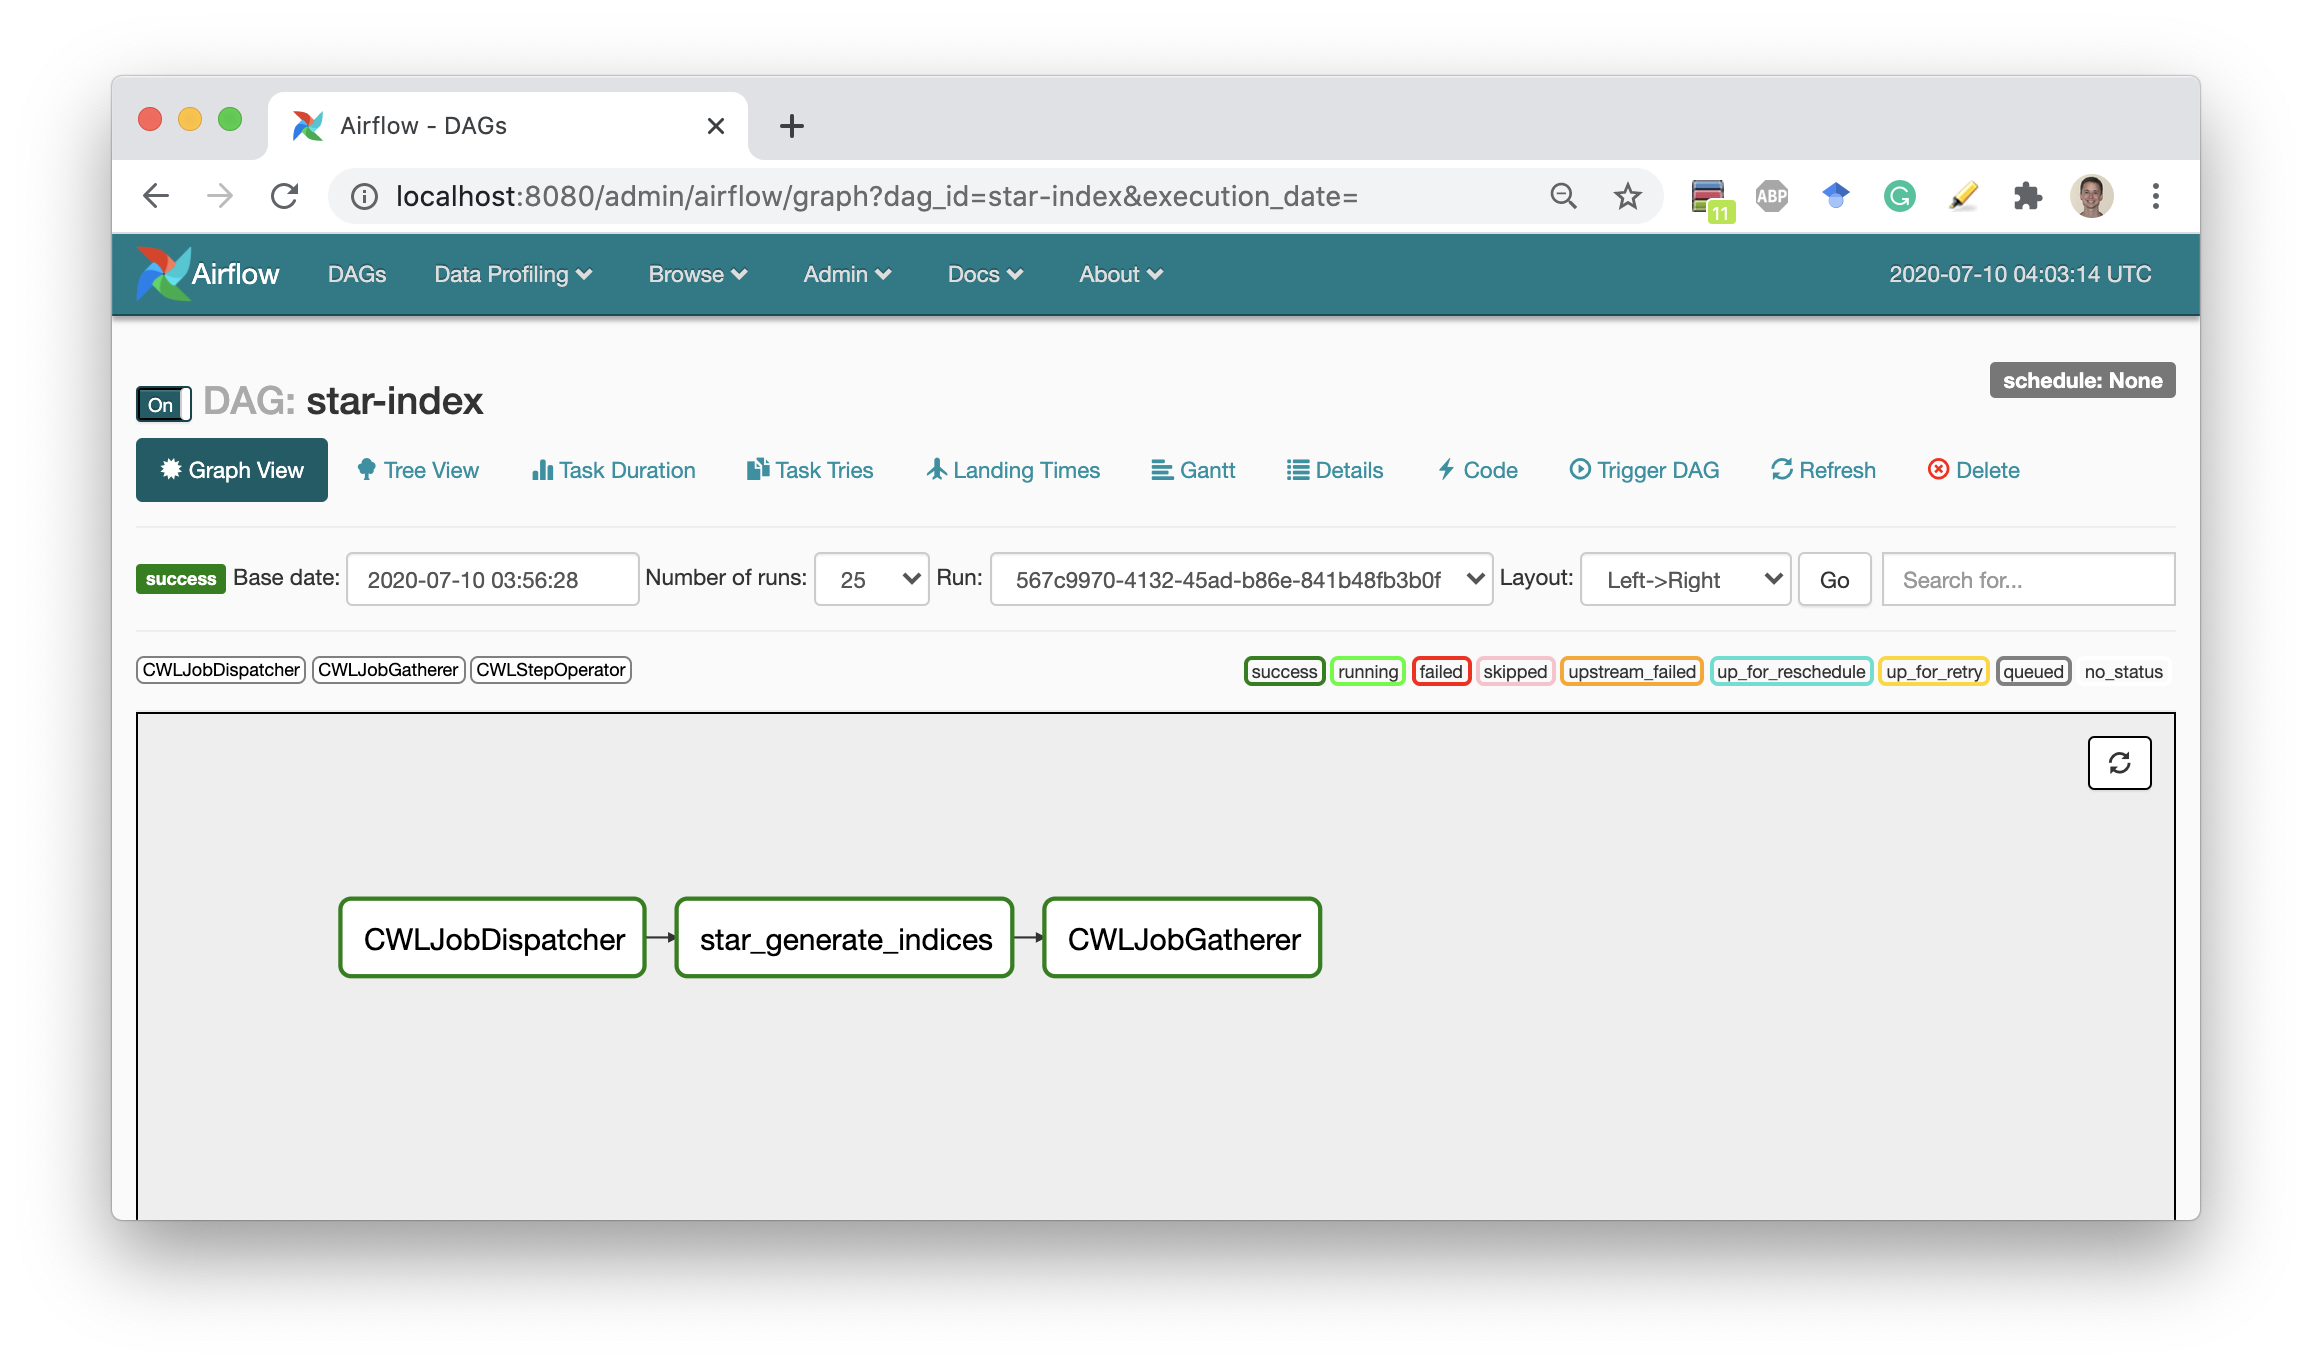
Open Airflow Webserver (by default http://127.0.0.1:8080/admin/) and wait until Airflow Scheduler pick up a new DAG (by default every 5 min) and execute it. On completion all results and temporary files will be removed, so you can safely schedule other workflows by setting different values to
--rangeparameter. Take a look at the How to use section for more details.